
In the HVAC field, knowing where temperature problems are located is a real help. A thermal camera can show you what is invisible to the naked eye, such as air leaks or cold spots. This article explains how a thermal camera works, what it is used for in HVAC, how to choose one, and how to use it in the field for more accurate diagnostics.
Key Takeaways
- A thermal camera captures infrared radiation to visualise temperature differences, useful for identifying energy losses.
- It is used to diagnose insulation faults, control heating and air conditioning systems, and identify electrical overheating.
- The choice of a thermal camera depends on its resolution, sensitivity, temperature range, and features such as picture-in-picture.
- For effective use, the camera must be properly set up, thermograms understood, and good inspection practices followed.
- Using a thermal camera improves the accuracy of HVAC diagnostics, saves time, and facilitates the communication of results.
Understanding how a thermal camera works
The principle of infrared detection
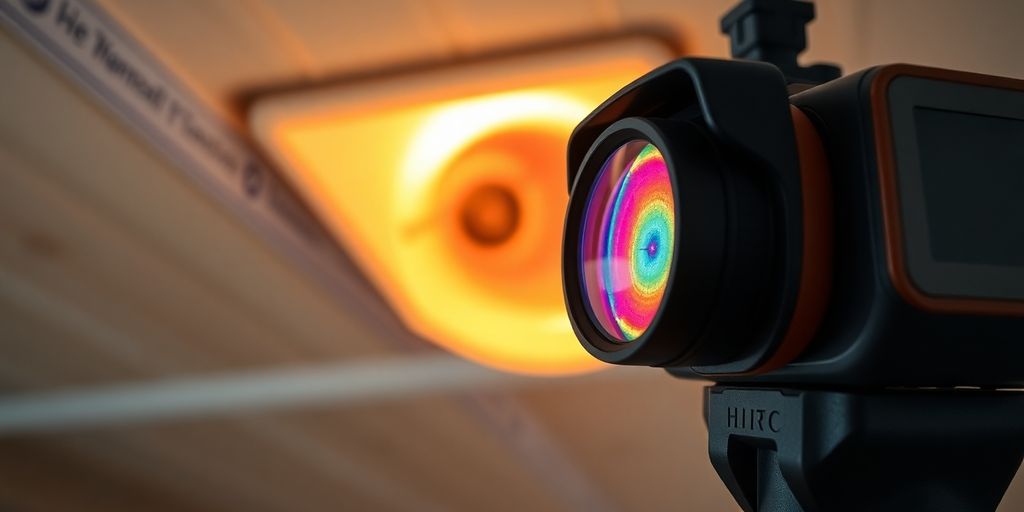
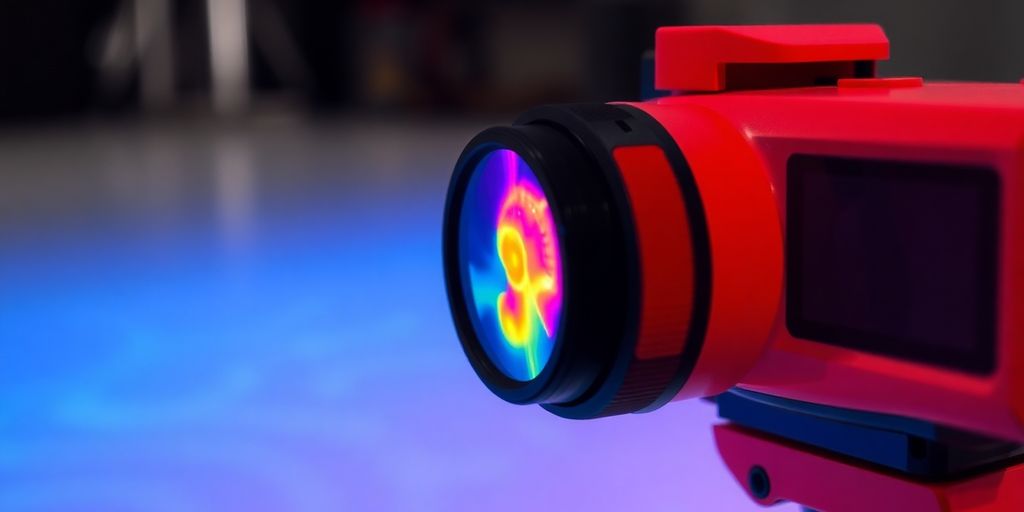
A thermal camera works by capturing infrared energy, a form of radiation invisible to the naked eye. All objects emit heat in the form of infrared radiation, and the hotter an object is, the more radiation it emits. The thermal camera transforms these emissions into a visible image, called a thermogram. Hotter objects generally appear in red or yellow hues, while colder objects are represented by blue or purple hues. This system allows for the visualisation of temperature differences on a surface, thus revealing anomalies that would not otherwise be detectable. It’s a bit like seeing the world through a new dimension, that of heat.
Essential characteristics of a thermal camera
To use a thermal camera effectively, it is important to know its main characteristics. Image resolution, expressed in pixels, determines the level of detail you can observe. Higher resolution offers a sharper image and allows for finer details to be distinguished. Thermal sensitivity, on the other hand, measures the smallest temperature difference the camera can detect; higher sensitivity means more precise measurements. The field of view, expressed in degrees, indicates the width of the area the camera can capture in a single image. A wider field of view is useful for quickly inspecting large areas, while a narrower field allows for focusing on specific details with greater precision. The temperature range measures the extent of temperatures the camera can record, generally from -30°C to +350°C, although more specialised models can cover wider ranges. Finally, focusing, whether manual or automatic, is essential for obtaining clear images and reliable measurements. Good focusing is the basis of accurate analysis.
The importance of resolution and sensitivity
Resolution and sensitivity are two absolutely fundamental parameters for obtaining reliable HVAC diagnostics with a thermal camera. High image resolution, measured in pixels, allows for clear distinction of details and small temperature variations. For example, when inspecting a piping network, high resolution will help you precisely identify leak points or areas of abnormal temperature. Thermal sensitivity, often expressed in millikelvins (mK), indicates the camera’s ability to detect very small temperature differences. A camera with high sensitivity can, for example, detect subtle thermal bridges or minimal air infiltrations that would escape a less sensitive device. Choosing a camera with resolution and sensitivity adapted to your specific needs is therefore essential for precise and effective HVAC analysis. It is often useful to consult comparisons to find the right balance between these two characteristics and your budget, such as those available for surveillance cameras.
Interpreting thermograms, these coloured images representing heat distribution, requires some practice. One must know how to read the colour palettes used, which associate specific hues with precise temperatures, to understand the anomalies detected. A good understanding of these visual elements is key to transforming a simple thermal image into a relevant HVAC diagnosis.
Applications of the thermal camera in the HVAC field
In the Heating, Ventilation, and Air Conditioning (HVAC) sector, the thermal camera proves to be an extremely useful tool. It allows you to go beyond classic visual inspections and diagnose problems often invisible to the naked eye. Its use can greatly improve the quality of your interventions and your clients’ satisfaction.
Diagnosis of building energy losses
A thermal camera is particularly effective at identifying areas where your building loses heat in winter or gains it in summer. By analysing temperature differences on the surface of walls, windows, or roofs, you can precisely identify thermal bridges and insulation defects. This information is valuable for proposing targeted energy improvement solutions. For example, a poorly insulated window or a thermal bridge at a balcony will appear clearly on the thermogram, helping you to quantify the problem.
Control of heating and air conditioning installations
For heating systems, the thermal camera allows you to check the proper heat distribution in radiators or underfloor heating. You can thus detect a possible blockage in a circuit or a non-uniform temperature. Similarly, for air conditioning, it helps identify refrigerant leaks or insulation problems in ducts. The detection of leaks is facilitated, even the most minimal, which is essential for system efficiency and environmental protection. This device is designed for refrigeration technicians, detecting all common refrigerants with high sensitivity to identify even the smallest leaks. A thermal camera
Identification of overheating in electrical systems
Electrical installations, whether electrical panels or connections, can show hot spots due to faulty contacts, overloads, or undersized cables. These hot spots are early warning signs of fire. The thermal camera allows you to identify them quickly and safely, without having to shut down the installation. The FLIR ONE series allows for inspecting electrical panels, finding HVAC faults, and discovering hidden water damage. These inspections are crucial for safety.
The use of a thermal camera in the HVAC field transforms the way you approach diagnostics. It offers a clear vision of thermal performance and potential malfunctions, allowing for more precise and effective interventions.
Choosing the right thermal camera for your professional needs
Choosing the appropriate thermal camera for your HVAC interventions is a crucial step to ensure the accuracy and effectiveness of your diagnostics. The market offers a variety of devices, each with its specific features. It is therefore essential to clearly define your professional needs before making your choice.
Different types of thermal cameras available
There are mainly two broad categories of thermal cameras: handheld cameras and integrated cameras (or thermal modules). Handheld cameras are standalone devices, often designed to be held, offering great flexibility of use in the field. They are ideal for quick and varied inspections. Thermal modules, on the other hand, generally connect to a smartphone or tablet, transforming your mobile device into a thermal imaging tool. This solution can be more economical and practical if you already have a compatible device, but may sometimes limit resolution or features compared to a dedicated camera. The choice will depend on your budget and frequency of use.
Selection criteria for HVAC use
For an HVAC application, several criteria must be carefully considered. Detector resolution is paramount; a higher resolution, such as 320×240 pixels or more, allows for finer details to be distinguished and more precise measurements to be taken, even at a distance. Thermal sensitivity, often expressed as NETD (Noise Equivalent Temperature Difference), indicates the smallest temperature difference the camera can detect. Lower sensitivity (e.g., < 50 mK) is preferable for identifying subtle temperature variations, such as those caused by air leaks or insulation problems. The measurable temperature range must also be suitable for HVAC applications, generally covering temperatures from -20°C to several hundred degrees Celsius. Don’t forget to check the device’s durability, as it will likely be used in various, sometimes challenging, environments. Good battery life is also a major asset for long days on site. Also consider ease of use and screen clarity for quick reading of information.
Advanced features for precise analysis
Beyond basic specifications, certain features can greatly improve the quality of your HVAC diagnostics. Image fusion, which overlays the thermal image onto a visible image, helps to precisely locate detected anomalies. The ability to adjust emissivity and reflectivity is also important for obtaining accurate temperature measurements on different surfaces. The presence of an integrated laser rangefinder facilitates aiming and remote measurement, while providing information on the target distance. Furthermore, the ability to record images and videos, with voice annotations if possible, is very useful for documentation and communicating results to your clients. Good connectivity for data transfer to a computer or cloud will also facilitate your workflow.
Optimising the use of your thermal camera on site
Once you have chosen the thermal camera suited to your needs, it’s time to put it into action in the field. To get the most out of your equipment and obtain reliable HVAC diagnostics, a good understanding of settings and rigorous data interpretation are essential. Here’s how to go about it.
Settings and parameters for reliable measurement
To ensure the accuracy of your measurements, several parameters of your thermal camera must be carefully adjusted. It is important to understand that each scene and each material has its own thermal characteristics. Adequate calibration is the key to a successful HVAC diagnosis.
- Temperature Range: Adapt the camera’s temperature range to the situation. If you are inspecting a heating system, a wider range will be necessary than for a simple thermal bridge detection on a window. Too wide a range can mask small but important variations.
- Emissivity: This is a fundamental setting. Emissivity represents a surface’s ability to emit heat by radiation. Matt and dark surfaces have high emissivity, while shiny and reflective surfaces have low emissivity. It is often necessary to consult emissivity tables for the materials you encounter (painted metal, plastic, concrete, etc.) or to apply a high-emissivity marker to the surface being measured to obtain an accurate reading.
- Reflected Temperature: This parameter compensates for heat reflected by the environment onto the surface you are measuring. It is particularly important when measuring low-emissivity objects in an environment where the ambient temperature is significantly different.
- Focus: Ensure the image is sharp. A blurry image leads to imprecise measurements. Some cameras have automatic focus, while others require manual adjustment. Take the time to focus properly before taking a measurement.
Interpreting thermograms and colour palettes
The images produced by your thermal camera, called thermograms, are visual representations of temperatures. Knowing how to read them correctly is essential.
- Colour Palettes: Thermal cameras use different colour palettes (iron, rainbow, grey, etc.) to represent temperature variations. Each palette has its advantages. The ‘iron’ or ‘grey’ palette is often preferred for technical analysis as it offers good distinction of nuances without creating misleading visual effects. Understand what each colour represents in the legend provided by your camera.
- Hot and Cold Spots: Identify abnormally hot or cold areas relative to their immediate environment. In HVAC, a hot spot on an electrical circuit can indicate an overload or a poor connection, while a cold area on a wall can signal poor insulation or an air leak.
- Contrast: Good contrast between different areas of the thermogram facilitates problem identification. If the contrast is too low, adjust the temperature range or the palette level.
The analysis of a thermogram is not limited to looking at colours. It must be cross-referenced with knowledge of the system being inspected and environmental conditions to draw relevant conclusions.
Good practices for effective HVAC inspection
To carry out your HVAC inspections effectively with a thermal camera, follow these simple rules:
- Environmental Conditions: Ideally, conduct inspections when the temperature difference between inside and outside is at least 10°C. For heat loss inspections, it is preferable to do so in cold weather. For air conditioning systems, in warm weather.
- Observation Distance: Observe the optimal distance specified by your camera’s manufacturer to obtain the best spatial resolution. Too close or too far can distort measurements.
- Documentation: Always take a visible photo (with the integrated camera if available) in addition to the thermogram. This helps to contextualise the problem and facilitate communication of results. Remember to note the inspection conditions and settings used.
- Cross-verification: If possible, use other diagnostic tools, such as an anemometer or a contact thermometer, to confirm your thermal observations. For example, if you detect a cold area on a wall, use a contact thermometer to check the surface temperature. Heat pump installation, for instance, requires a methodical approach like those presented in this video series.
- Safety: Always be aware of your surroundings. Never put yourself in danger to take a measurement. If inspecting electrical panels, ensure you comply with electrical safety standards and, if necessary, work with a qualified electrician. Home automation, for example, can involve complex systems that require a cautious approach for harmonious integration.
The advantages of integrating a thermal camera into your diagnostics
Integrating a thermal camera into your HVAC diagnostic procedures radically transforms your approach, bringing increased precision and efficiency. This tool allows you to visualise the invisible, transforming temperature variations into concrete and easily interpretable data.
Improved accuracy of HVAC diagnostics
Thanks to the thermal camera’s ability to detect even minimal temperature differences, you can precisely identify anomalies that would escape a classic visual inspection. This includes the accurate location of thermal bridges, cold or hot air infiltrations, or circulation problems in heating and air conditioning systems. You thus obtain a more complete and reliable diagnosis, reducing the risk of interpretation errors. For example, a slight colour variation on a thermogram can indicate an insulation defect on a ventilation duct, a problem that would otherwise be difficult to pinpoint. This precision is particularly useful for assessing the condition of heating installations and air conditioning systems.
Time and efficiency gains in the field
The use of a thermal camera significantly speeds up the inspection process. Instead of dismantling components or performing invasive tests, you can quickly scan large areas and identify problematic zones. This allows you to focus your efforts on critical points, thus optimising your time on site. Imagine being able to check the airtightness of several windows in just a few minutes, or quickly spot overheating on an electrical panel without having to touch anything. This speed of execution translates into better productivity and the ability to handle more cases.
Facilitated communication of results to clients
Thermograms, these coloured images representing heat distribution, are exceptional communication tools. They allow you to present detected problems clearly and visually to your clients, even if they do not have in-depth technical knowledge. A picture is often worth a thousand words, and a thermogram illustrating energy loss or overheating is particularly telling. This strengthens your clients’ trust and facilitates their decision to undertake the necessary work. It is a major asset for improving the safety of their installations.
Adopting thermography in your HVAC diagnostics is not just a matter of equipment; it’s an evolution of your working methodology. It positions you as a professional at the forefront of technology, capable of offering finer analyses and solutions better suited to your clients’ needs.
In Brief: Your Thermal Guide
There you have it, you now have a better idea of what a thermal camera can do and how you could use it. Whether it’s for tracking an air leak in your home, checking your heating system, or even for more technical work, this tool can truly simplify your life. Don’t forget to choose your device carefully according to your needs, as there are models for all uses. By mastering its use, you will discover a new perspective on your environment and be able to act more effectively to improve your comfort and save money.
Frequently Asked Questions
How does a thermal camera work?
A thermal camera works by capturing the heat that objects emit, like a kind of special vision. It transforms this heat into coloured images. Hot objects appear in red or yellow, and cold objects in blue. It’s like seeing the temperature of things.
What is a thermal camera used for in the HVAC field?
In the field of heating, ventilation, and air conditioning (HVAC), these cameras are super useful. They help find where heat escapes in a house, check if radiators or air conditioning are working well, and identify if electrical cables are overheating.
How do I choose the right thermal camera for my work?
To choose the right camera, look at its ability to see details (resolution) and its sensitivity to detect small temperature differences. Also consider how you will use it: for large areas or small, precise details. Some have options to blend the thermal image with a normal photo, which is very practical.
How best to use a thermal camera on a job site?
To obtain reliable measurements, you need to properly adjust the camera according to the ambient temperature and the type of surface you are looking at. It is also important to understand the colours on the image: red means hot, blue means cold. Learn to read these images to understand what they show.
What are the advantages of using a thermal camera for diagnostics?
Using a thermal camera makes your diagnostics more precise. You can see problems you wouldn’t otherwise, such as air leaks or misplaced insulation. This saves you time because you find problems faster, and you can better explain what you’ve found to your clients by showing them the images.
Can a thermal camera see through walls?
No, a thermal camera cannot see through walls. It detects heat on the surface of objects. If a wall is very thick and insulates well, the camera will not see what is behind it. It is mainly useful for seeing temperature differences on the surface.